


Twiggy stuff to hold up your paperwhites, and bread.

If you’re reading this in an email some of it may get chopped - please go to the Substack site or app to get the full thing.
After a long-ish pause (about two months) I have started making bread again. I was one of those people who tried to do sourdough in lockdown and failed miserably. My whole street joined a WhatsApp group and my wonderful incredibly patient neighbour took us all on the journey with her of making a starter. Nothing happened to mine…it just stayed resolutely a lump of dough, refusing to puff up and become the magic thing it was meant to be. I threw it away after about three weeks in a fit of pique, with exactly the same rage as I remember feeling when I was about six and, realising I simply could not win at Monopoly, upended the board and stormed out. How thoroughly spoilt. Ugh. I hate myself. Anyway, it didn’t work and I think it didn’t work because I was doing it to belong, rather than because I wanted to make bread, and the bacteria knew.
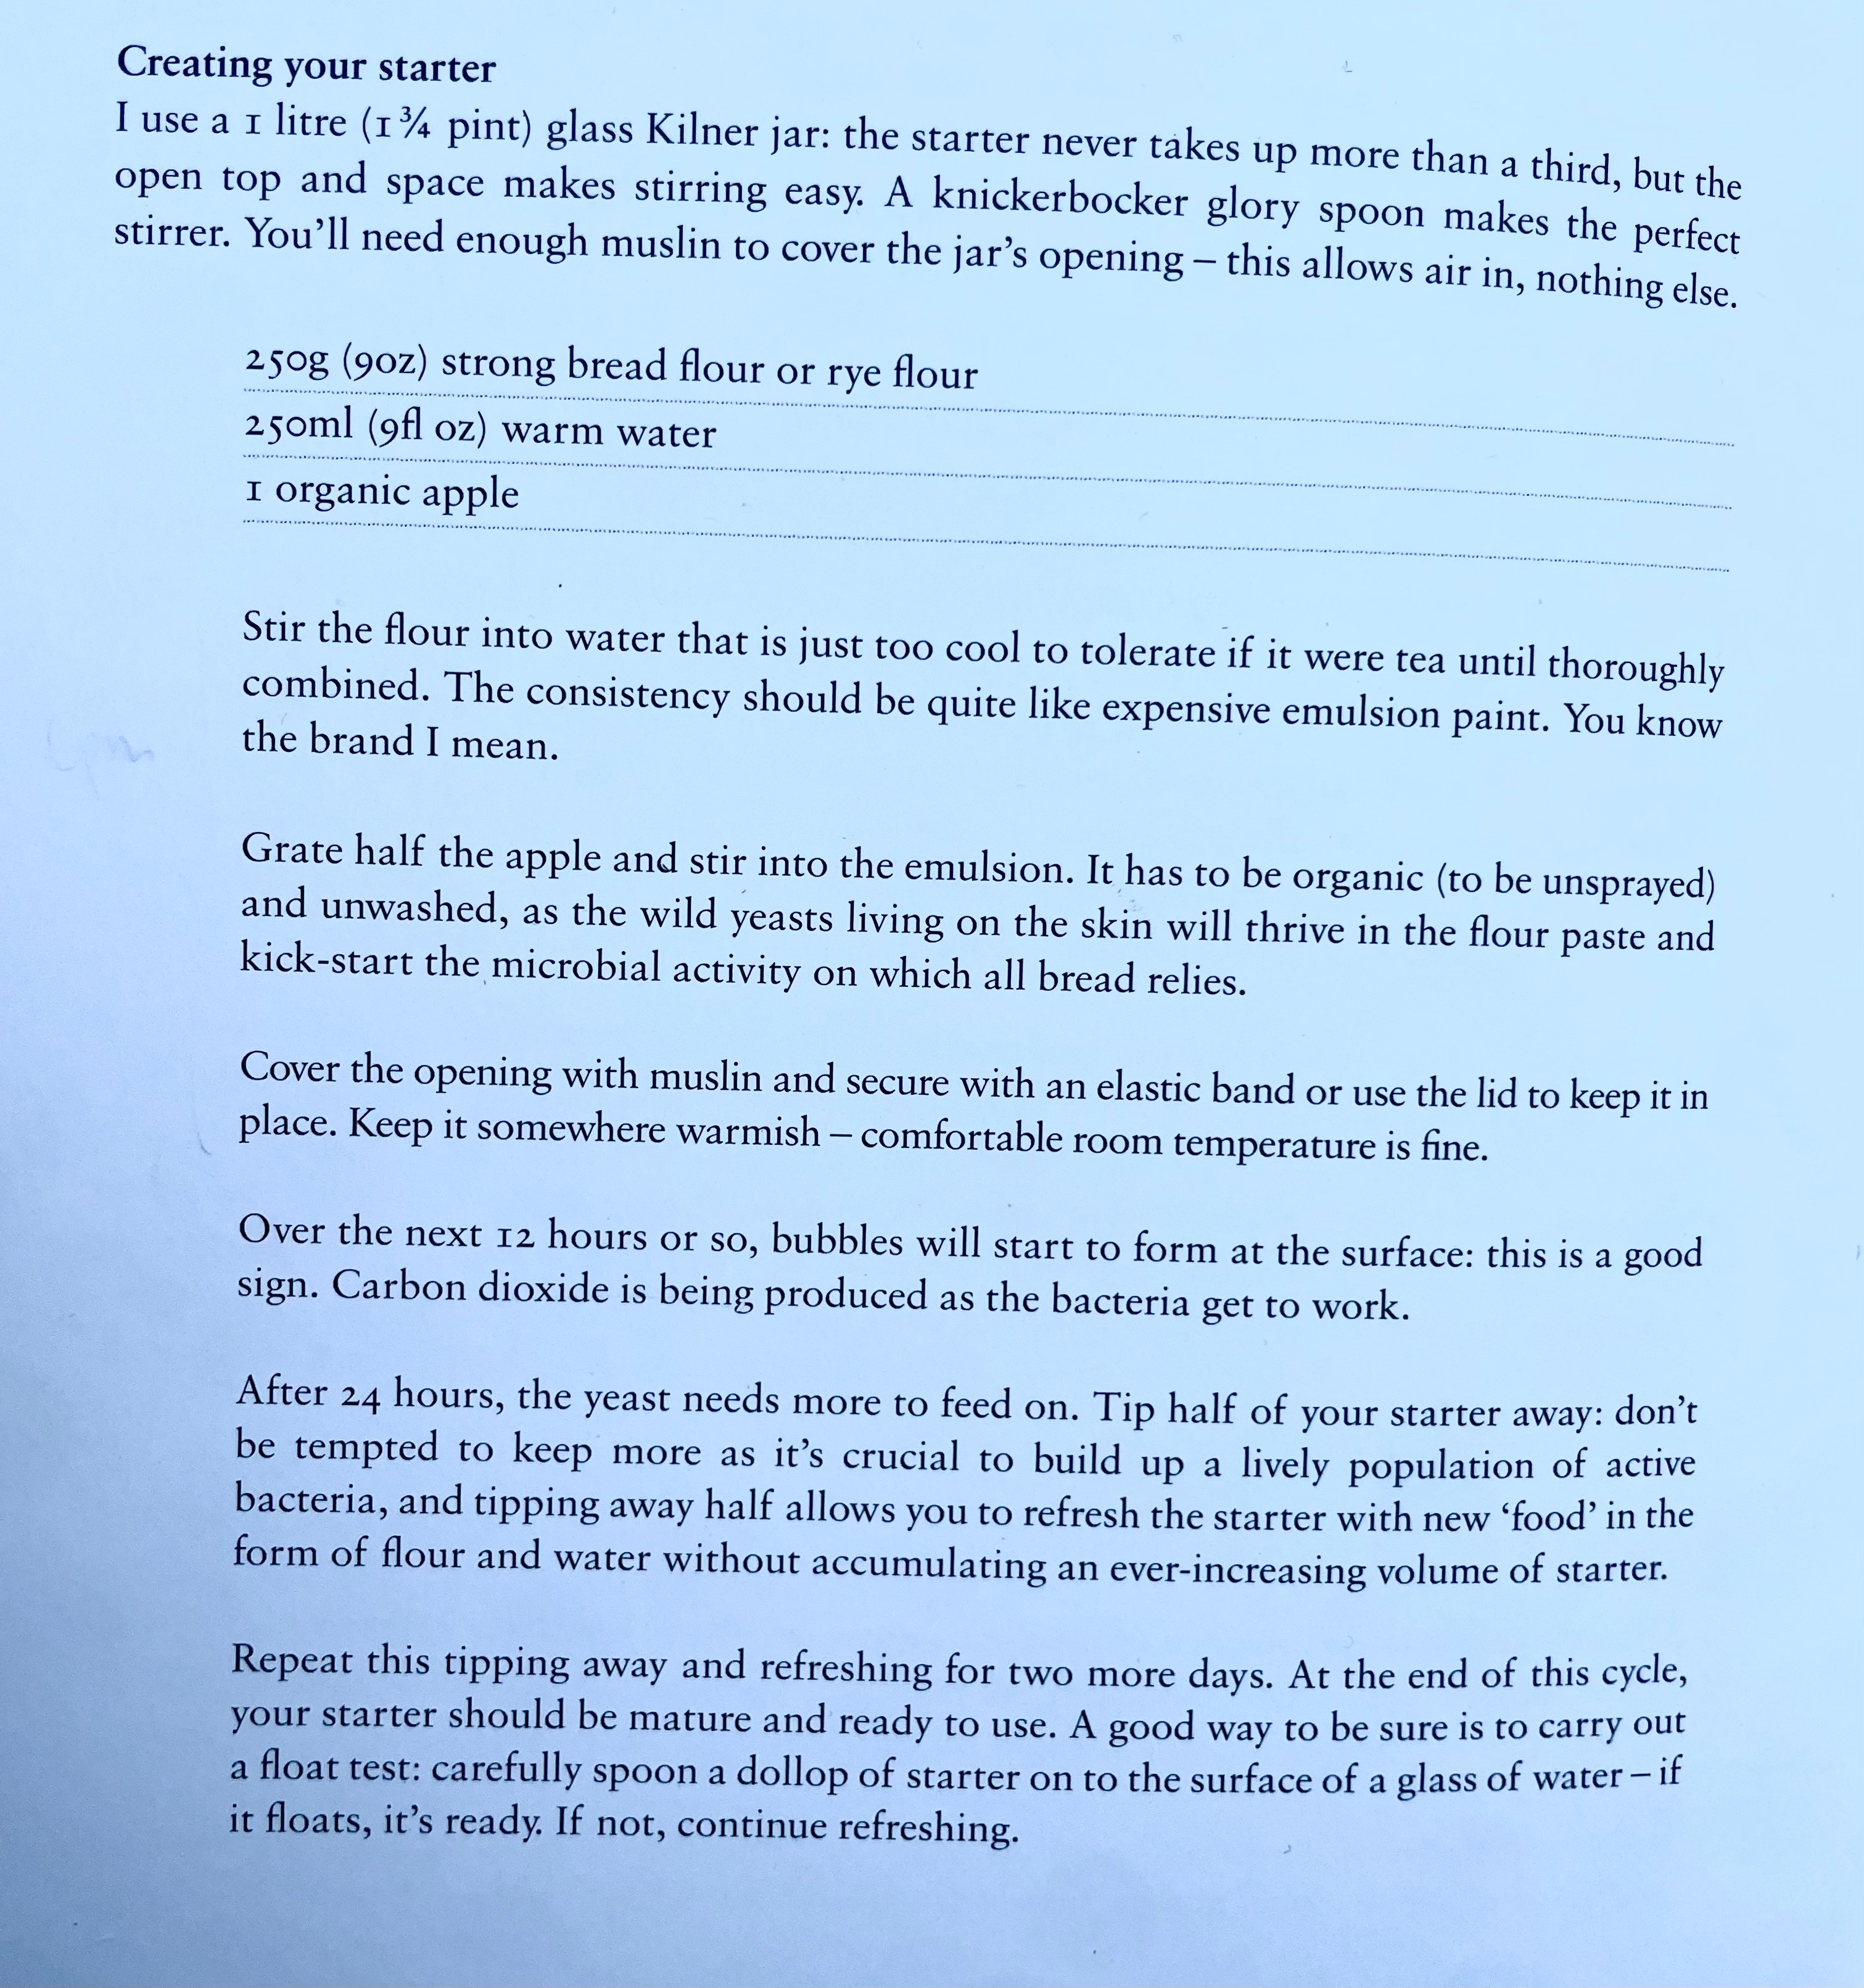
Years later, I decided I actually wanted to make bread, spurred on and inspired by Mark Diacono’s book Sour. He’s very kindly given me permission to put it here:
I read something recently…on here I think, about how despite the fact that you can get a recipe for anything on the internet, good recipes - recipes that actually work and are worth making, are still quite rare. I bought a book recently by an influencer that has lots of slow-cooker stuff in it that look great, but all of them taste really, truly one-dimensional. Obviously this is because they are all ‘easy’ and they don’t require any initial frying…you just chuck everything in the pot and press ‘go’. They are all edible (once seasoned and possibly anointed with extra flavour…lashings of ketchup, worcester sauce, chilli, MARMITE???) but none of them are actually delicious.
Really delicious food takes time and energy and thought and research. I am interested enough to do this some of the time, and once I got over the psychological sourdough hump (It’s too difficult! It takes too long! I’m not that woman!) it got easier and easier. And now it’s so easy that it’s in my cell memory, and I’d be slightly embarrassed about telling you how I do it, except that I can remember a time quite recently when it was all very mysterious and felt out of my reach.
I’m a quitter at the best of times; I need an early win to keep me interested in something, otherwise I get cross. Mark’s starter recipe included a grated apple. It was autumn and I got one off my tree, and I left the thing outside in the sun when it was sunny and then brought it in and put it next to a radiator in the living room over the coming days. And it worked.
One day, I kicked it over and it spilled all over a very old, quite dirty kelim. I never contemplated chucking it out…too much time and energy invested thus far…I scraped it all up and put it back in the jar, and then it REALLY started bubbling. I think most of the bacteria in my starter come from that filthy kelim.
The first loaf was truly abysmal. A pancake-like thing that was almost too dense to cut. But my Rotter was sweetly encouraging about it and the second loaf was better, and then about ten loaves in, once I’d cottoned on to the idea of being gentle, and of using a le creuset, things really started to improve.
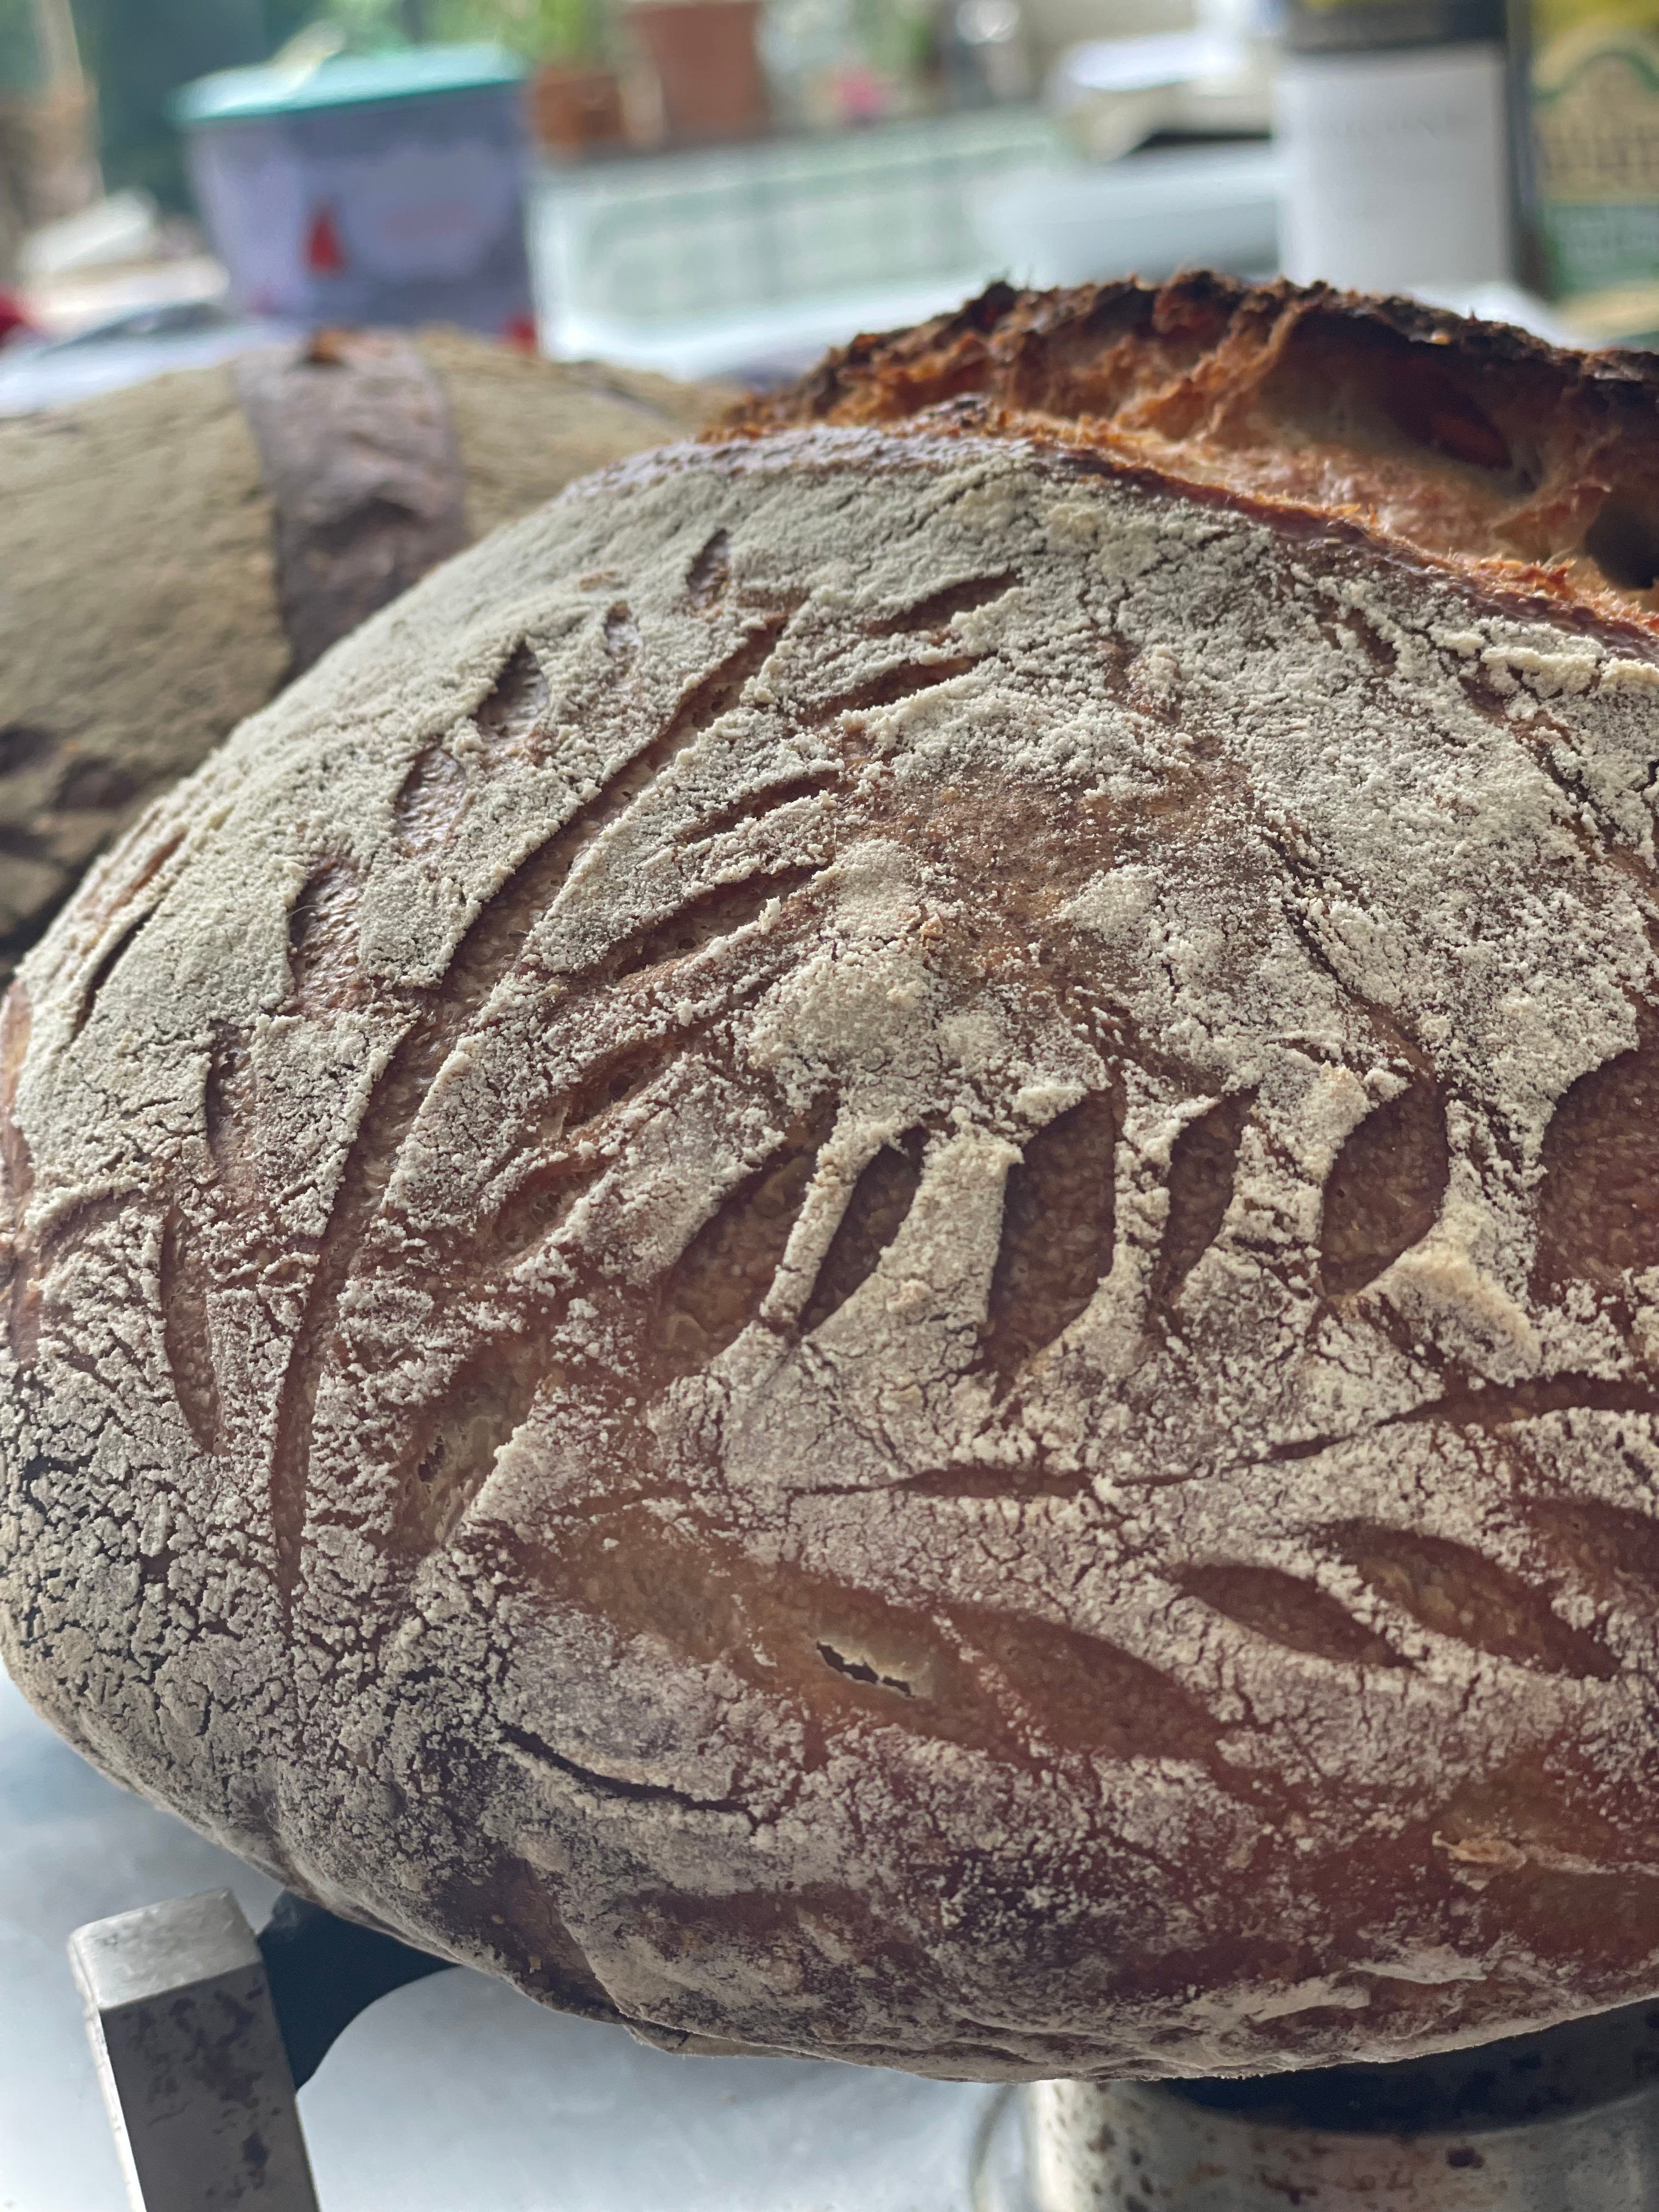
And now, I make about four loaves a week, and I get a stupid amount of joy from doing it, and the fact that I can create this thing that everyone loves - really, really loves - from three ingredients. So I thought I’d share this method, for anyone who might want to give this a go. It also gives me the opportunity to use the word FECUND, and who wouldn’t want to do that?
So here is how I do my bread.
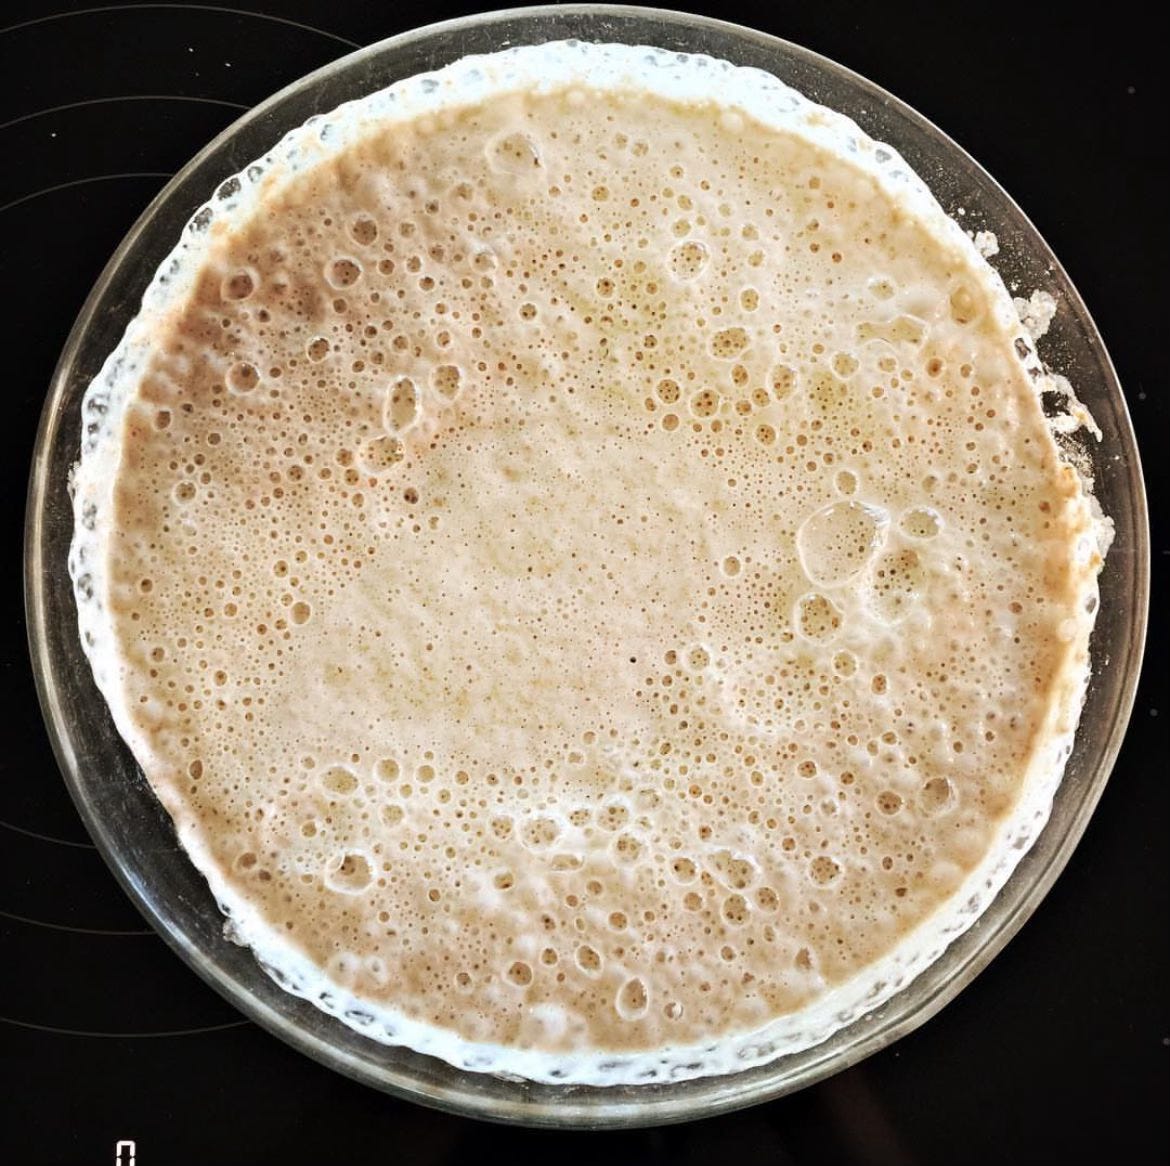
200g starter - bubbly and FECUND
700g warm filtered water - whisk it in so it’s milky and bubbly
900g strong white flour and 100g wholemeal flour - add and mix into the liquid with the handle of a wooden spoon until it’s a sticky mass. Leave 30 mins.
20g sea salt dissolved in 50g warm filtered water - add to dough and squidge about thoroughly, then cover and leave 30 mins.
Fold gently by picking up the whole blob and softly plopping it down a few times, turning the bowl as you do so, every 30 mins over the course of about 4 hours. NB you can be VERY chilled about this; just aim to fold about 8 times during a morning or afternoon. In winter I keep the bowl on top of a hot water bottle.
Divide into two, pull the edges in to the middle of each loaf and flip over into a floured bannetton (look at the internet for videos of people doing this, but know that as long as you’re gentle, the bread will be good.
Put loaves in fridge overnight, and bake the following day at a really high heat inside a small-ish dutch oven, after slashing them with a really sharp knife. I bake at 270 degrees for 56 minutes. Your oven might be different.
I feed my starter, leave it to bubble up and then put it in the fridge at its most FECUND until I want to use it again.
Tonight we are eating bought soup with fresh bread, and tomorrow we will eat doorstep sandwiches made from this loaf. The ends I keep until they get stale, and then I put them underneath a chicken and roast it. The result is impossible to eat without gravy dripping down your chin but it is quite the very best thing in the whole wide world - nothing can match this stale loaf end with charred, impossibly chewy edges and insides drenched and sodden in chicken juice. Nothing.
Now twiggy things
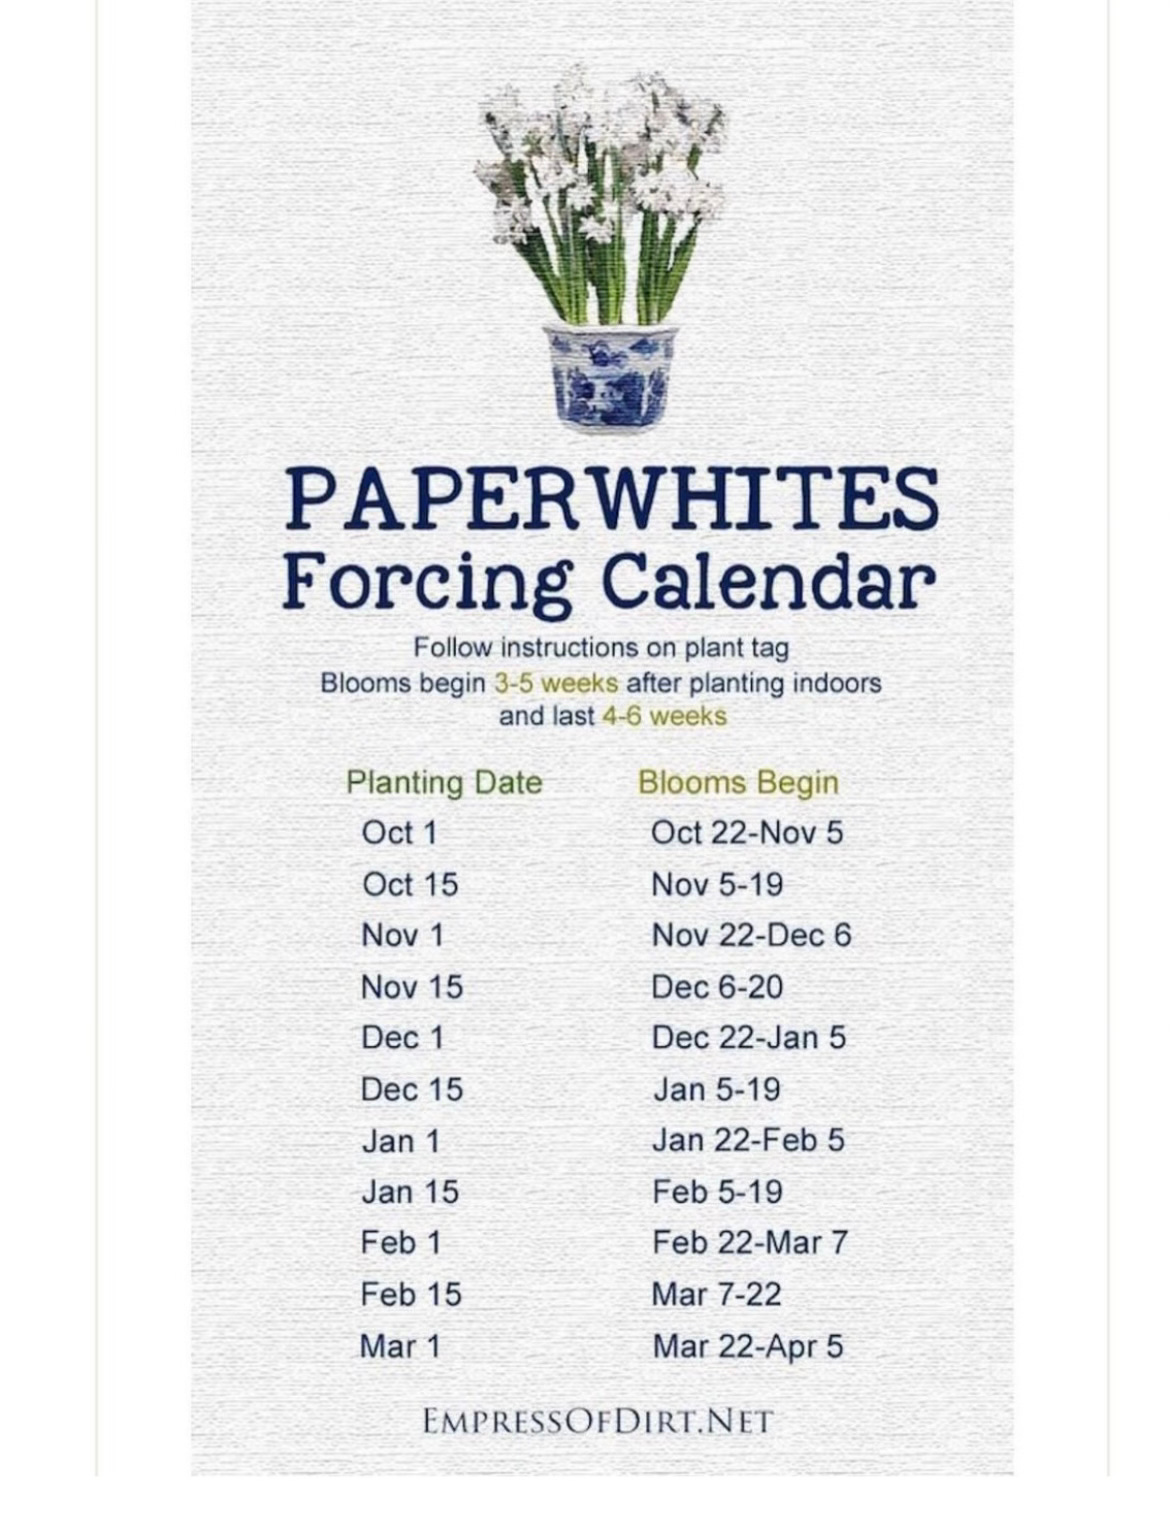
I am a paperwhite devotee and now I’m getting total FOMO because I haven’t planted any. Here is a very useful cheat sheet for when to plant paperwhites:
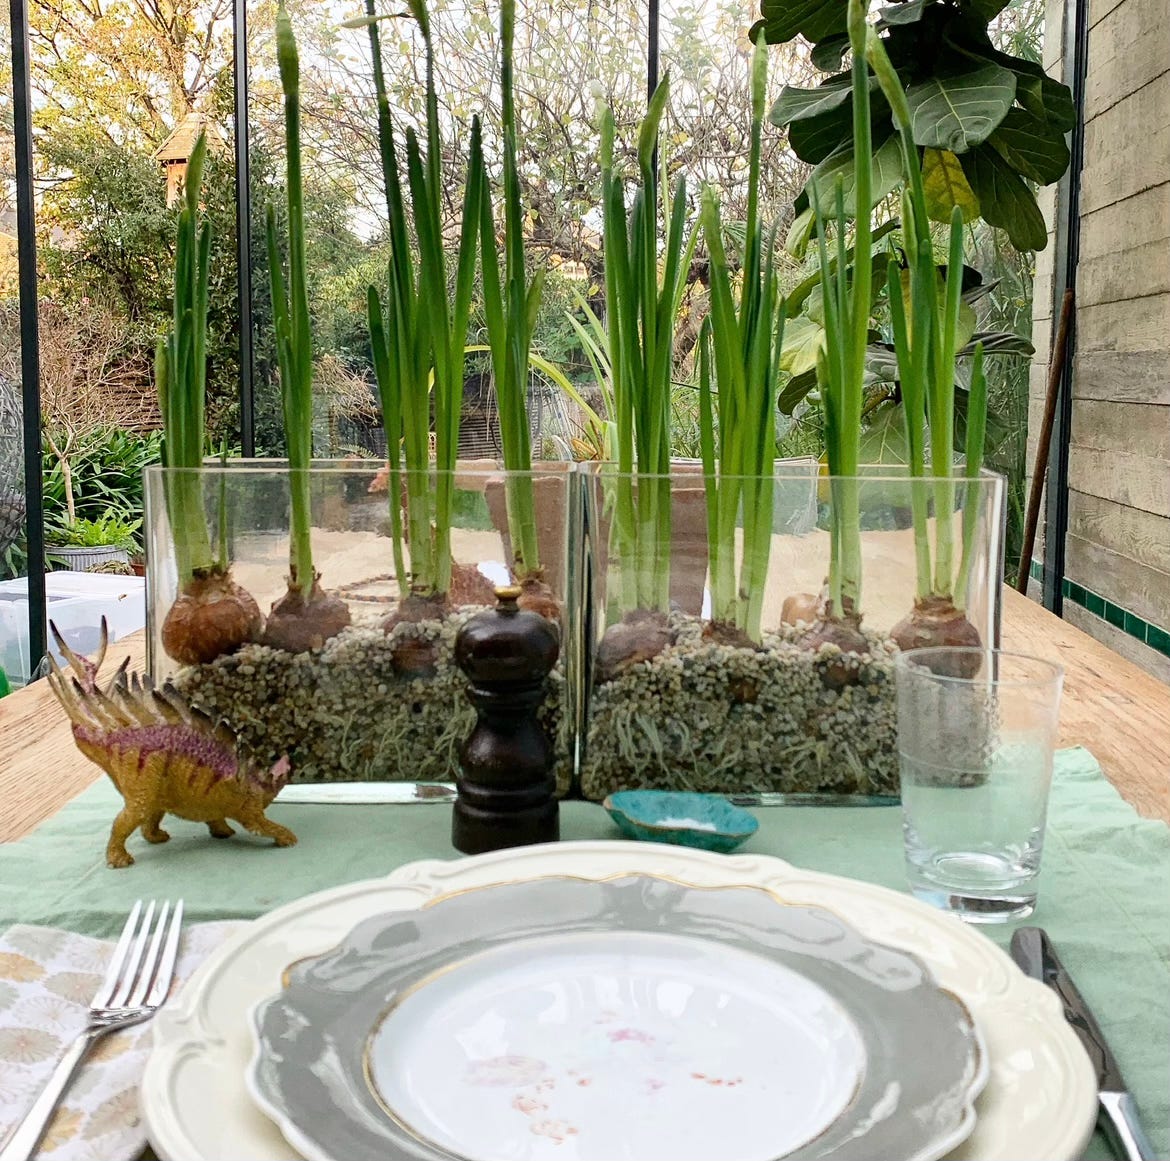
Christmas arrangements with bulbs are such an easy and joyous way to bring the outside in, and I find them particularly lovely after Christmas, when January and February seem to sit on ones shoulders a bit heavily. I have, over the years, done lots of things to support these lovely bulbs as they grow taller and more unwieldy. The easiest thing is to plant them in a bed of gravel or stones, within a tall-sided glass vase, and I would highly recommend this approach, as you can find very cheap glass vases like this, or this and get some gravel, and you are instantly good to go. Here is a rather embarrassing video of me doing this:
The colour of my nails are a serious problem. I’m also not sure why I was doing this in such a low vase. The ones next to my left arm are much better candidates. Here’s what I mean:
But obviously this arrangement lacks the charm of those lovely mossy, twiggy pots of paperwhites, like this one below…
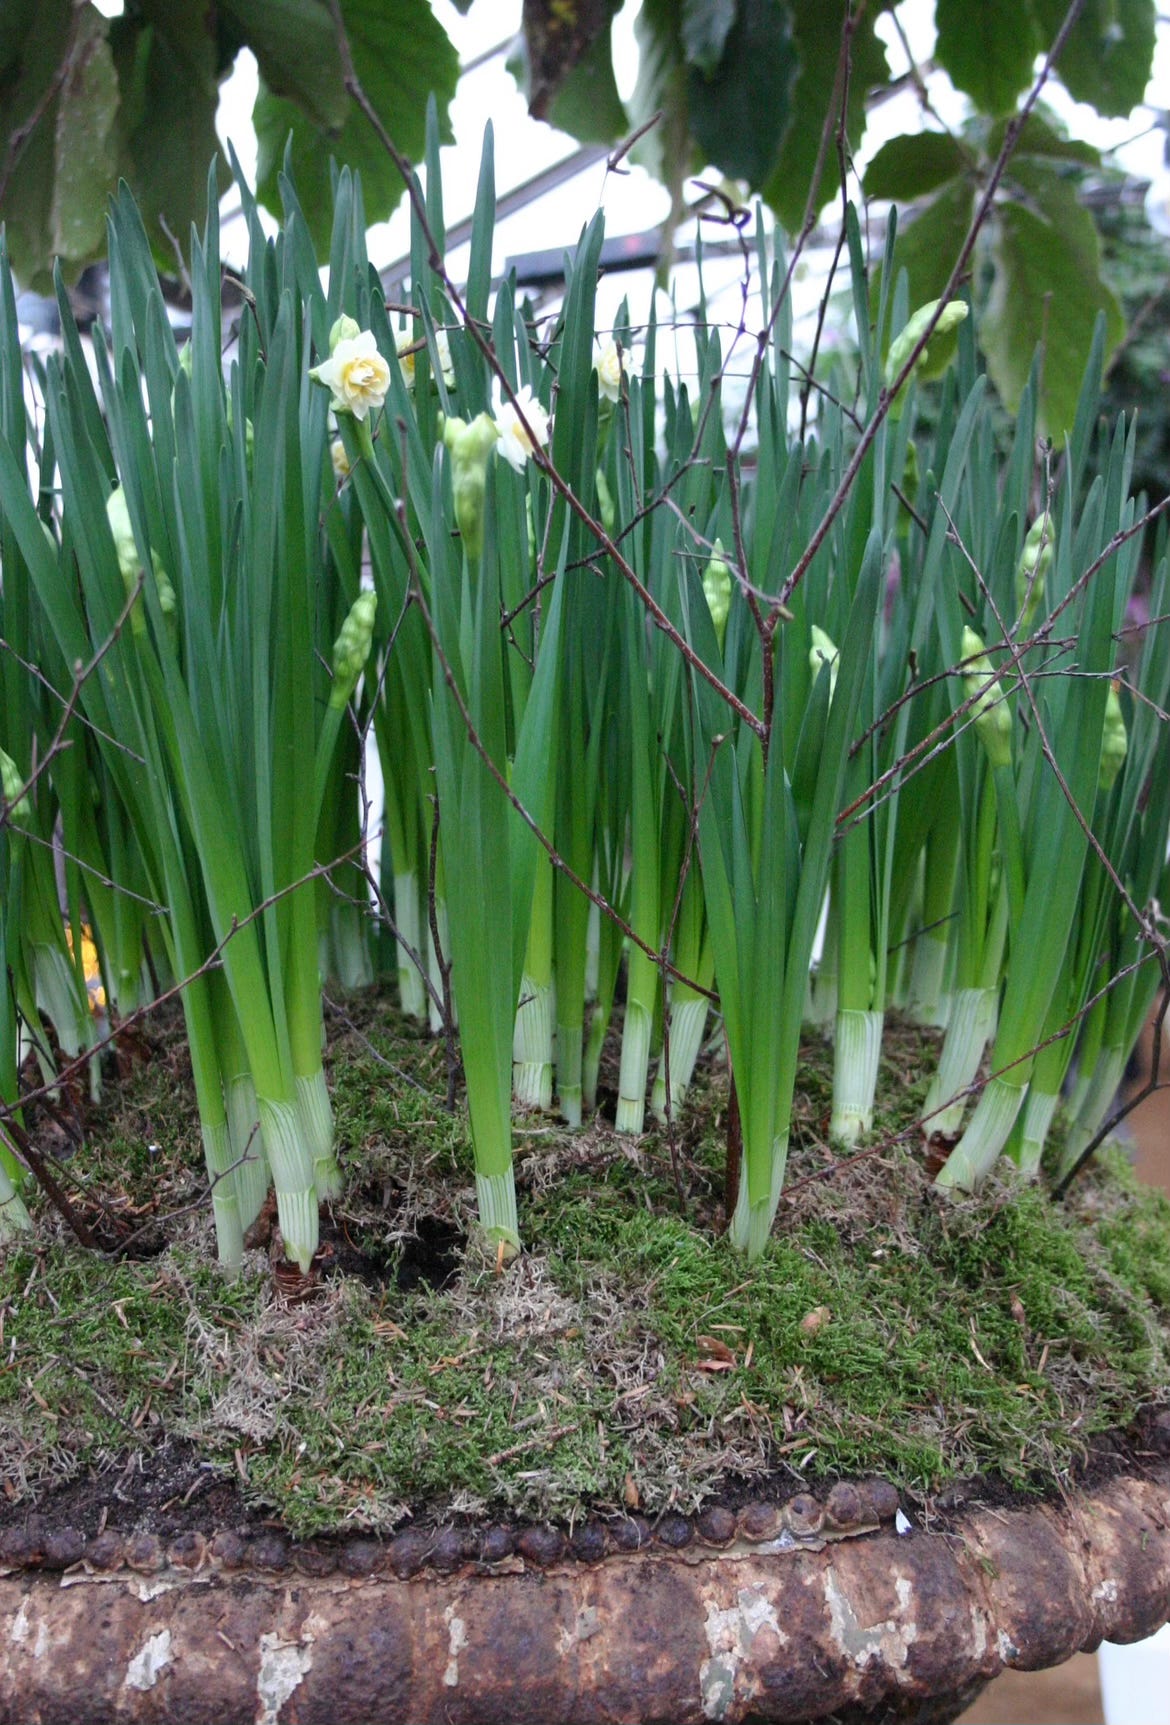
…where the container has been stuck with hazel or birch twigs, and these have been woven together to form a cloche or a crown around the piece, so that the flowers can grow through them and be supported at the same time.
But where do you GET such lovely bendy twigs? I find we are rarely given this golden nugget of information. It’s a bit like someone showing you their fabulous outfit but not telling you how they styled it to make it look so damn fine - unforgivable gate-keeping! The truth is that most florists get up painfully early in the morning and get their gorgeous bendy twiggy bits (often with fabulous lichen and fir cones attached) at a flower market. It’s quite rare, I find to see natural birch or hazel or larch twigs for sale at flower shops or in garden centres so that you can do things yourself. You can definitely buy this stuff online, but take care to go somewhere where the woodland is being managed sustainably.
But if you have an outside space, I think you’d be surprised by how many things you can use. Here are just a few prunings from my own garden that would do very well indeed as support for paper whites, amaryllis or any type of forced bulb situation. Obviously you need to cut material that is tough enough not to break or bend when stuck into compost, and yet bendy enough to be woven together with other twigs.

Above from top: Bay, Pittosporum tobira, Akebia quinata.
The akebia is already leafless, but I would remove the leaves from the other two.

Above from top: Hornbeam, jasmine and finally lilac.
I can already see I’ve missed the honeysuckle and the winter jasmine, and the amelanchier… but you get the picture; as long as you can find twigs or stems that are sturdy at one end, and pliable at the other, you are winning. And by the way, if you don’t find anything that bends, then that’s fine too - you can create really beautiful support simply by using brittle twigs that naturally fall from trees, stuck in a circle around your bulbs - it doesn’t have to be artful - the flowers will do all the talking.
Keep paperwhites cool (an outdoor-but-sheltered space like a shed is ideal here; they need a spell below 10 degrees c to flower well) until they really get going and get their nubbly buds, at which point you can bring them in. Add candles…always, to make things extra-special.
I’ve planted most of the tulips but of course another box that I forgot I ordered just arrived, so there will be more bulbs next week, and more moving of leaves from lawn to flower-bed.
I do hope you found this helpful and/or amusing. If you did, please share it and click on the heart, and best of all, please let me know whether you’ve done any indoor bulbous activities yet? and also please tell me about your sourdough stories.
Back soon!
x Laetitia
Thank you this is so useful. I’m about to be awash with paper whites that I planted to early. Currently they all have ribbons around them to hold them up - charming but amateur
Honoured to be here Laetitia, thank you! I love that your first loaf was a pancake...same here. I love how sourdough (and the starter) are things that you need to develop a relationship with before you work together best. Another lovely read x